WooCommerce Payment Plugin
Installing the AtaraPay WooCommerce plugin on the WooCommerce store is a very simple, 4-staged process.
If you want to integrate to the plug-in as a Marketplace Operator, please visit the Marketplace Integration page for details on two options that we have available.
Stage 1: Retrieve the Test Public Key
For the first stage, please follow the steps below:
- Register your seller account on the AtaraPay test environment at http://staging.atarapay.com/#/register/seller/ Register as a Business or Individual seller or as a Marketplace Operator.
- Make sure you are able to successfully login to access your account.
- Go to the “API” tab on the sidebar, click “API Key” and copy ONLY the Public key as shown in the screenshot

Stage 2: Installation
- Download the plugin zip file from the Wordpress Marketplace
- Login to your WordPress Admin. Click on "Plugins > Add New" from the left menu then click on upload.
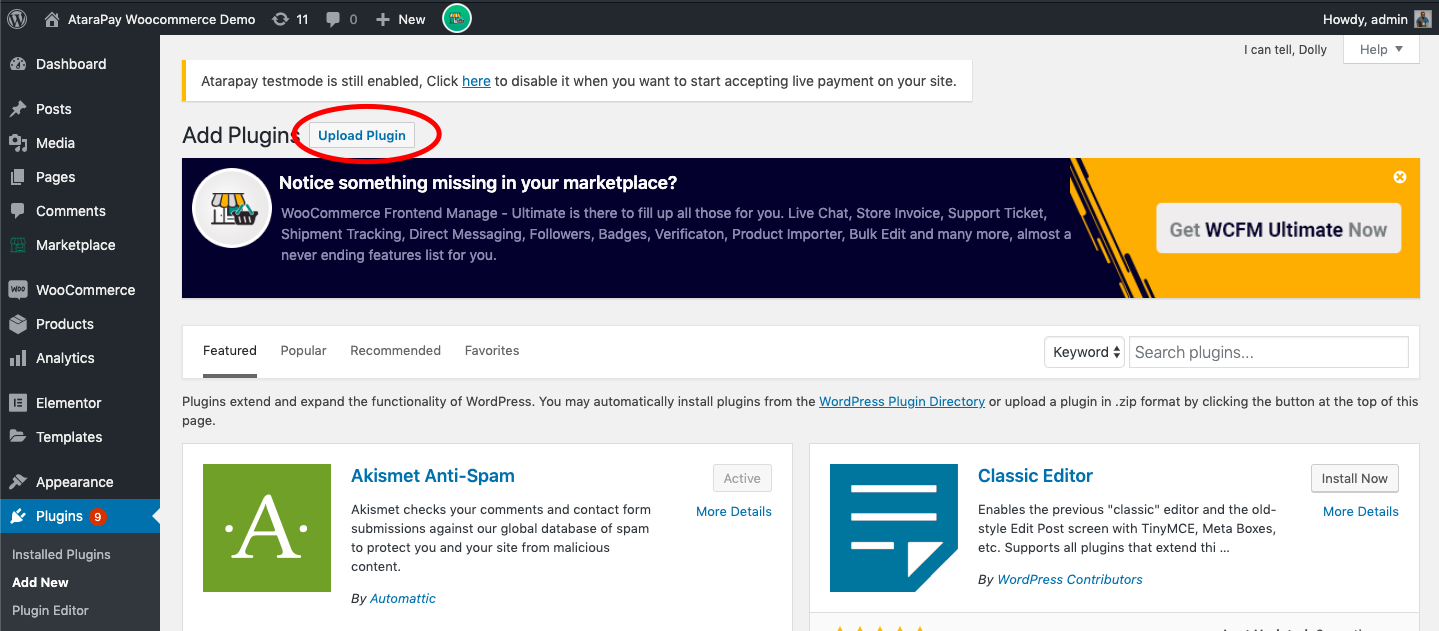
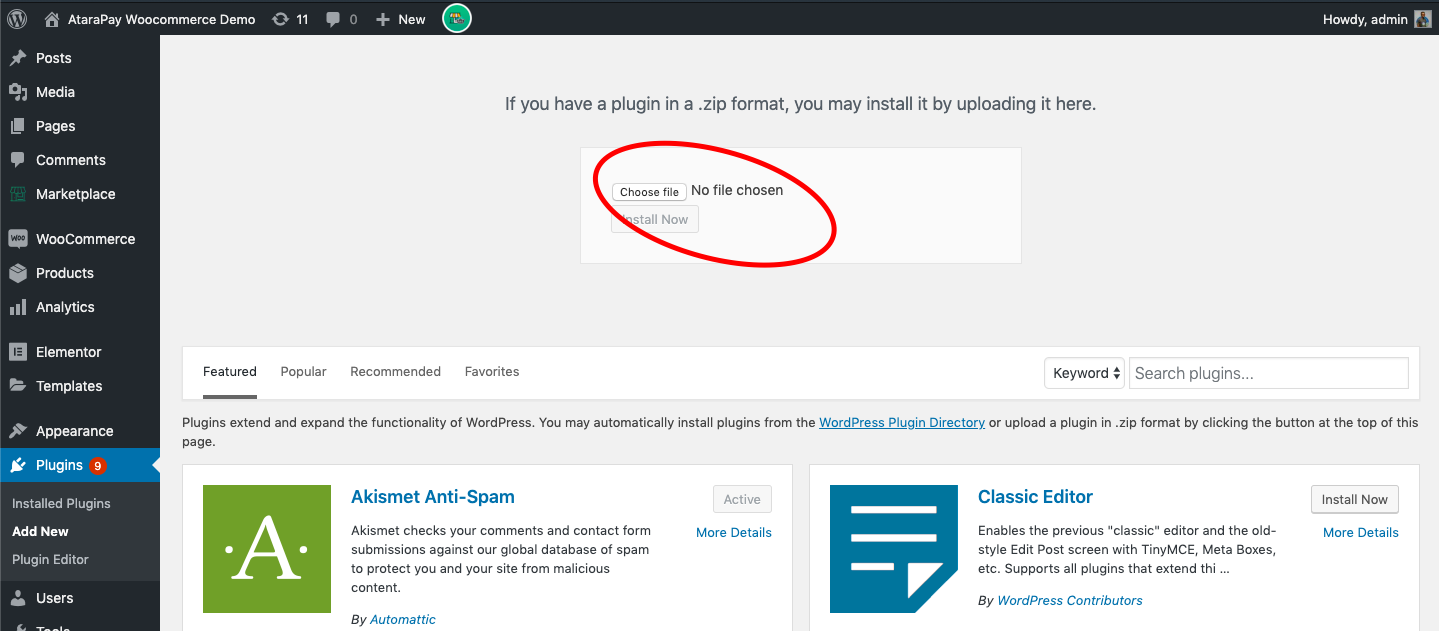
- After clicking the "Upload" option, then click "Choose File" to select the zip file you downloaded. Click "OK" and "Install Now" to complete the installation.
- Activate the plugin.
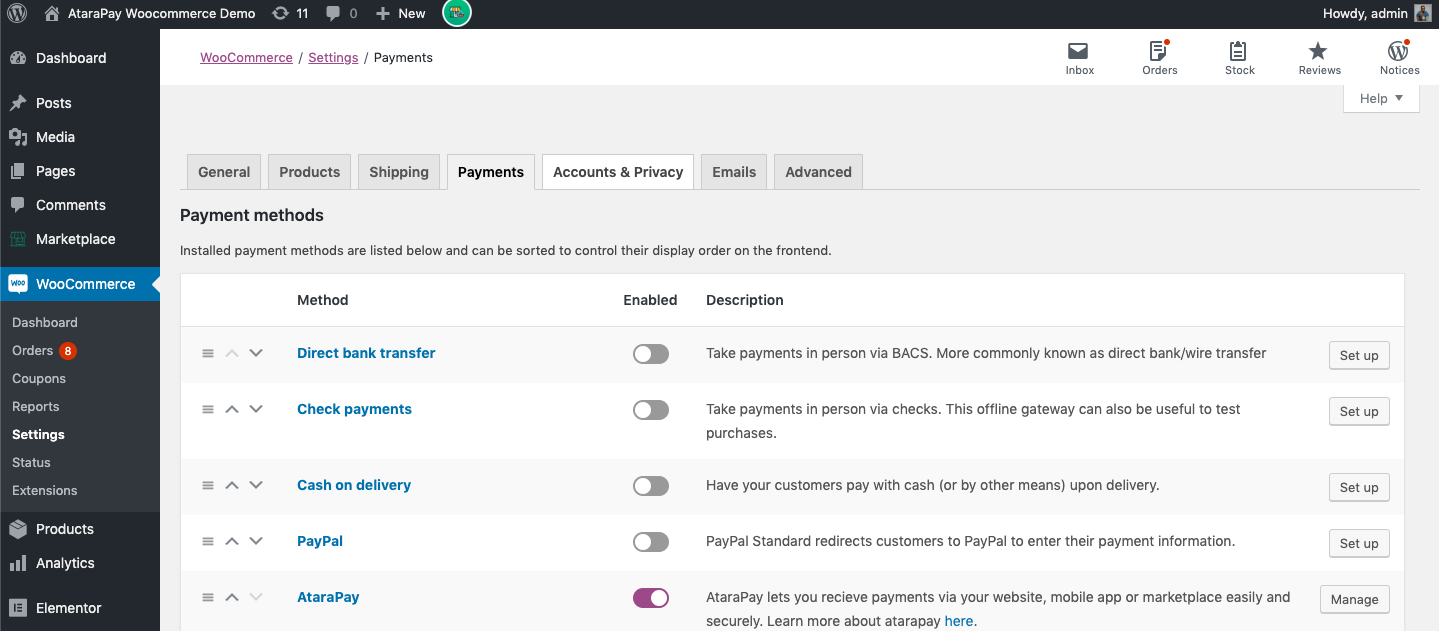
- Click on "WooCommerce > Settings" from the left menu and click the "Payment" tab.
- Click on the "Setup" or "Manage" button infront of the AtaraPay Method
- Configure the AtaraPay Payment Plugin settings accordingly.
Stage 3: Plugin Configuration
To configure the plugin, go to WooCommerce > Settings from the left menu, click Payment tab. Click on the "Setup" or "Manage" button infront of the AtaraPay Method.
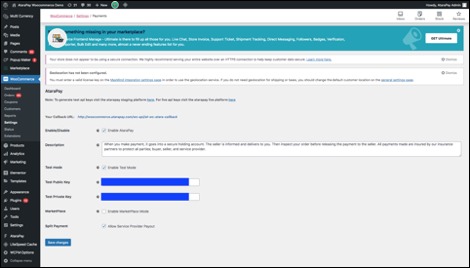
- Your Callback URL – Copy the callback URL provided. Then login to your AtaraPay seller dashboard, navigate to the human icon at the top right > Settings > Callback URL. Click open the accordion and paste the URL into the text field and hit the Save button to save.
- Enable/Disable – Check the box to enable AtaraPay Payment Gateway.
- Test Mode – Check the box to enable
Test Modeif you are using a test key for setup purpose, once you are done testing remember to uncheck theTest Modeto enable LIVE usage. - Test Public Key – Input the Public Key generated from your http://staging.atarapay.com seller account under the API tab
- Test Private Key – Input the Test Private Key generated from your http://staging.atarapay.com seller account under the API tab.
- MarketPlace – Do not check the box
Enable MarketPlace Mode, even if you registered on AtaraPay as a registered Marketplace Operator. You will still achieve the desired result even if your portal is a marketplace. - Split Payment – Check
Allow Service Provider Payout, if you want to include service providers in commission-based transactions. If not, leave unchecked.
Stage 4: Add Service Providers
- To add service providers, navigate to AtaraPay tab on the left pane of your WordPress admin dashboard. Here you can add service providers and also see service providers that were already created by you on your AtaraPay dashboard. (Please note that you must first add your own account in your AtaraPay dashboard in order to see the list of service providers on this page).
- To add your own bank account, login to your seller account at http://staging.atarapay.com, then navigate to Payout > Payout Details and click the Add Bank Details button to add your own bank account.
- You can add service providers from your AtaraPay or WordPress admin dashboards.
- To associate service provider and their commission per product, login to your WordPress admin dashboard, then navigate to Product > Add New > General to add a new product or Product > All Products to edit an existing one.
- If you are registered and integrating to the plug-in as a Marketplace Operator, send the following to support@atarapay.com;
- List of AtaraPay registered phone numbers of your merchants that are signed up on AtaraPay
- Your registered phone number with AtaraPay. ] This will enable us associate your AtaraPay registered merchants with your Marketplace account.
Go-Live
Once you are done testing and ready to go live, reference steps 3, 4 and 5 under stage 3 above and do the following;
- Uncheck Test Mode
- Replace the test keys with the live Public and Private Keys generated from your live seller account which you are to create on https://app.atarapay.com seller account
Note
The cart can not contain products or services from more than one service provider. The merchant shall be responsible to ensure this on their website.