Magento2 Payment Extension
NOTE: You are required to install the Webkul Marketplace Multi Vendor Module for Magento 2 in order for your Marketplace integration to work with AtaraPay.
Installation:
- Download the plugin zip file from here. For more details, access this file from the Magento Marketplace.
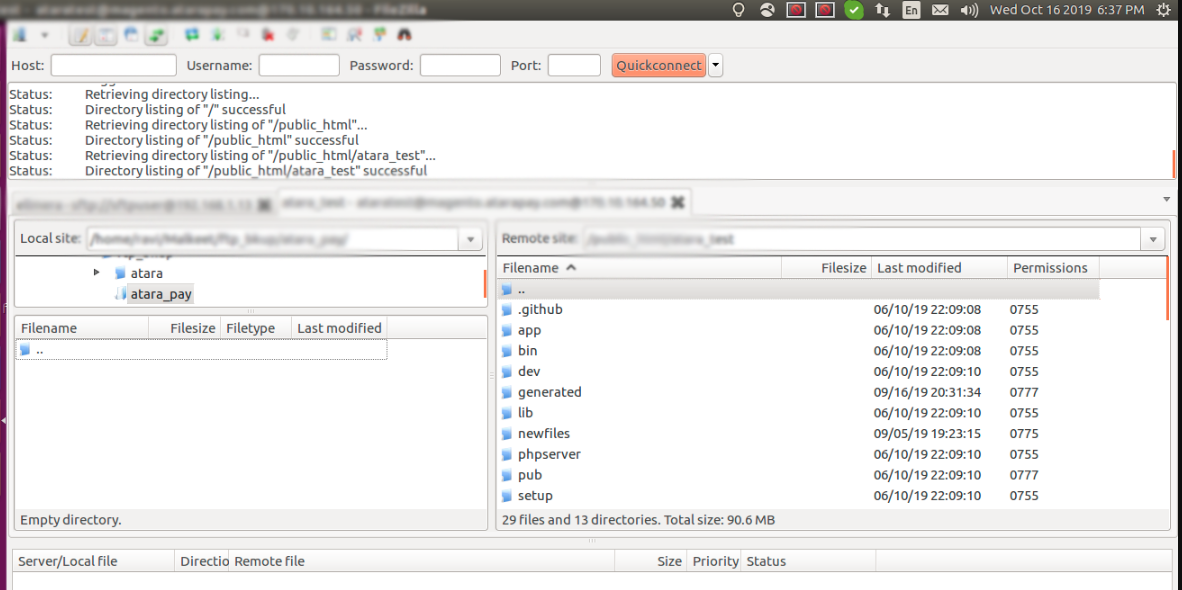
- Log into your hosting space via a FTP client.
- Unzip extension package and upload them into Magento root directory so that its auto save the files where they need to place.
- Run the below command from server SSH i.e.
bin/magento setup:upgrade
bin/magento setup:di:compile
bin/magento setup:static-content:deploy -f
bin/magento cache:clean
sudo chmod 777 -R var/ && sudo chmod 777 -R var/cache/ && sudo chmod 777 -R var/page_cache/ && sudo chmod 777 -R generated/ && sudo chmod 777 -R pub/ && sudo chmod 777 -R pub/static/ && sudo chmod 777 -R pub/media/
Plugin Configuration:
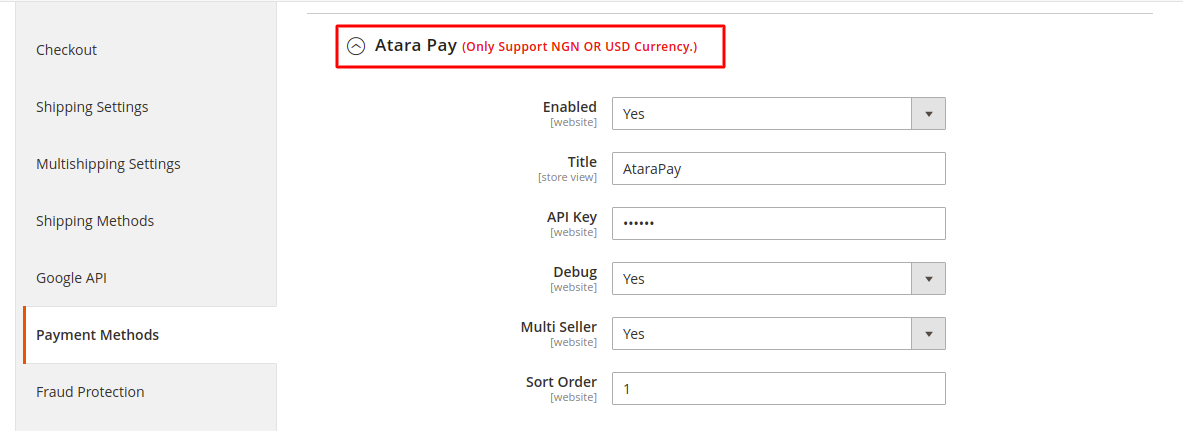
- To configure the plugin, Login to your magento backend. from the left menu Go to Stores > Settings > Configuration > Sales > Payment Methods > Atara Pay.
- Enable/Disable - select "Yes/No" to enable AtaraPay Payment Gateway.
- Test Mode - select "Yes" to Test Mode if you are using a test key for setup purpose, once you are done testing remember to select "No" for Test Mode to enable LIVE usage.
- Test Public Key - Input the Test Public Key generated from your http://staging.atarapay.com seller account under the API tab.
- Live Pulic Key - Once you are done testing, select the "NO" Test Mode and input the LIVE Public Key/ generated from your https://app.atarapay.com seller account.
- MarketPlace - If you are a marketplace seller, select the option "Yes" MarketPlace Mode.
- Phone Number - If you are a single seller then enter the phone number which you have registered to get API Key.
- Title - Add gateway title for frontend.
- Debug - Select yes to enable Debugging.
- Sort Order - Input the Payment Gateway sort order.